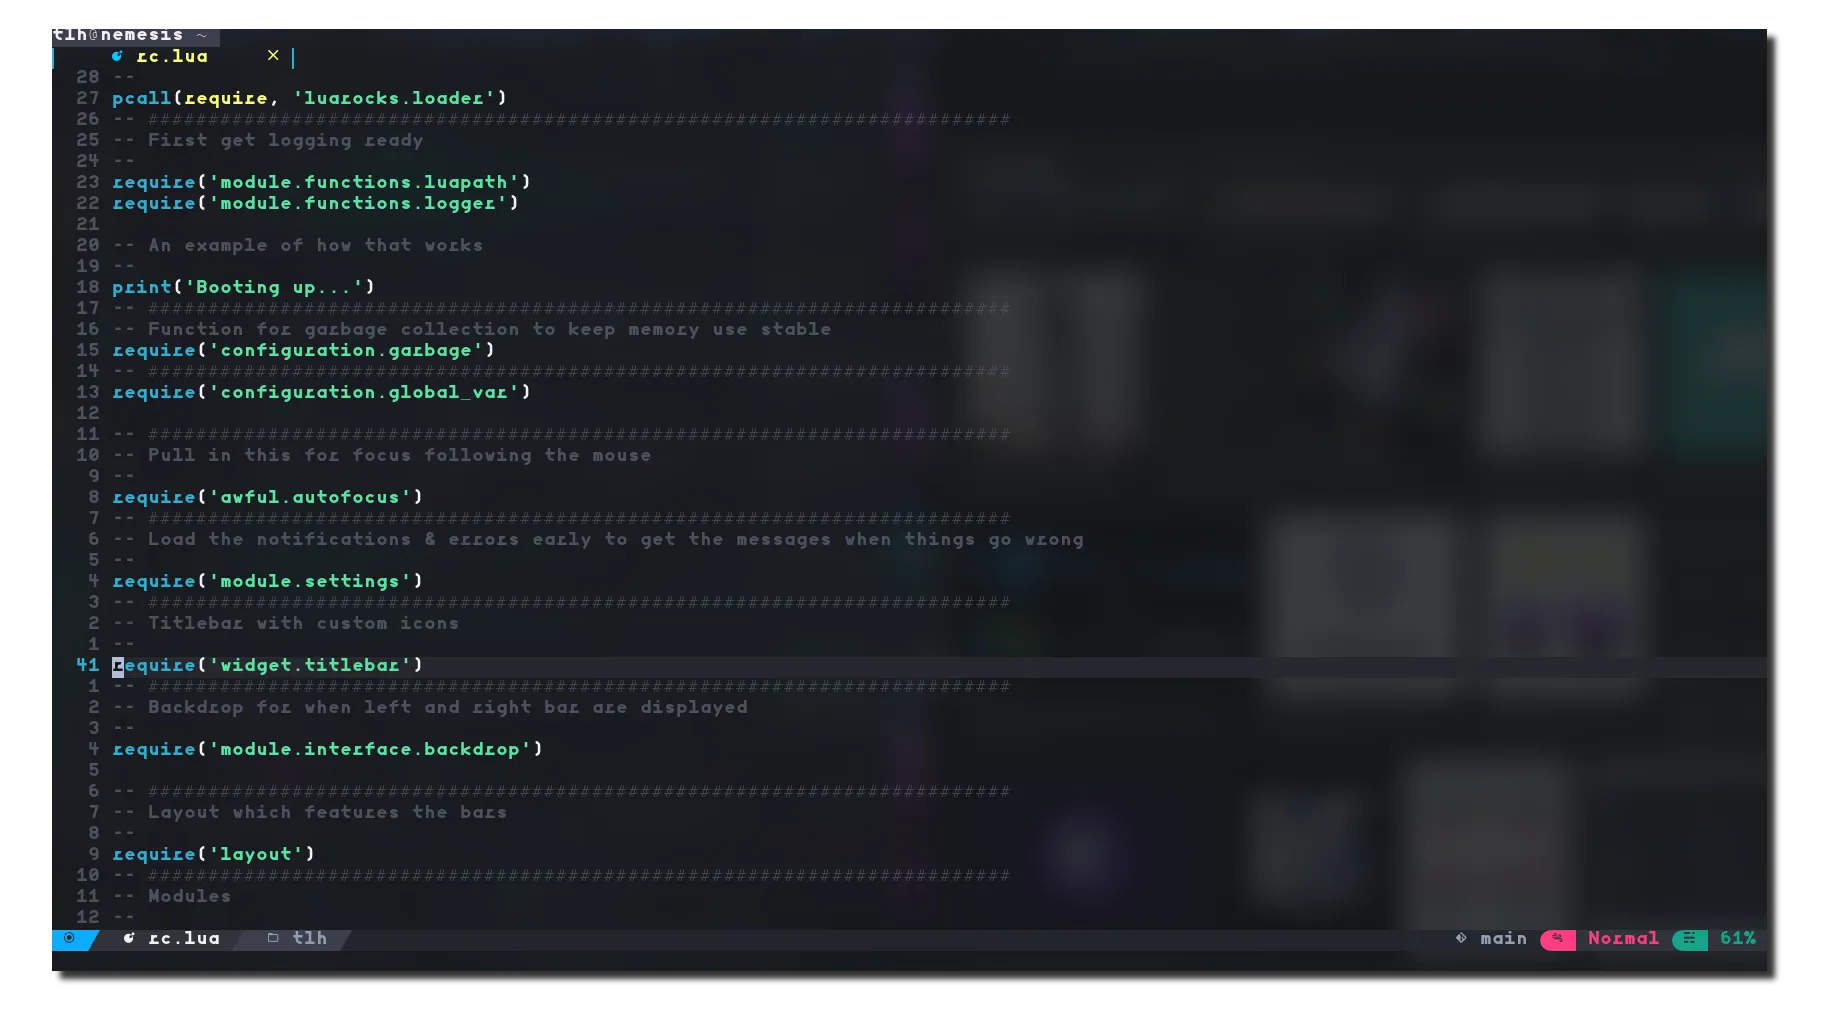
NOTE: I use NixOS now, which honestly doesn’t make much easier (let’s be real, NixOS makes everything harder at first), but at least NeoVim installation is straightforward there. For everyone else stuck on regular distros, this guide might save you some headaches.
Getting NeoVim’s Latest Features (Because Why Settle?)

Look, I’ll be straight with you - if you’re serious about using Lua for your NeoVim config, you can’t just grab the version from your package manager. You need the bleeding-edge stuff from Git. Trust me, I learned this the hard way when half my config didn’t work because I was running some ancient stable build.
The thing is, NeoVim’s Lua support has been evolving fast, and frankly, the official releases can’t keep up with all the cool features landing in the main branch. So let’s get you set up with the good stuff.
Building from Source (It’s Not That Scary)
Alright, let’s do this thing:
$ git clone https://github.com/neovim/neovim

$ cd neovim

$ sudo make CMAKE_BUILD_TYPE=Release install
And then clean up after yourself (your future self will thank you):
$ cd ..

$ rm -rf neovim
Or, if you’re feeling lazy (no judgment here), I made a script that does all this for you:
bash <(curl -s https://raw.githubusercontent.com/Thomashighbaugh/nvim/main/bin/install-latest-neovim.sh)
Dependencies: The Boring But Necessary Stuff
Here’s the thing about NeoVim - it plays nice with a bunch of different languages, but you’ve gotta install the right bindings first. Otherwise you’ll be scratching your head wondering why your Python plugins aren’t working.
Python 3 (because let’s be honest, Python 2 is dead):
pip install neovim pynvim --user
If for some reason you’re still on Python 2 (please upgrade):
pip2 install neovim pynvim --user
Ruby folks:
gem install neovim
Node.js people (pick your poison):
npm i -g neovim
# Or if you're team Yarn
yarn global add neovim
Setting Up Your Config
Now comes the fun part - actually configuring this thing. You’ll want to create an init.lua file in your config directory (usually $HOME/.config/nvim). Pro tip: make a lua subdirectory too, especially if you plan on using Packer (which you should, it’s fantastic).
I spent way too much time figuring out the optimal directory structure, so learn from my mistakes and set it up right from the start.
Community Configs (Or: Standing on Giants’ Shoulders)
Look, you don’t have to reinvent the wheel. The NeoVim community has created some incredible configurations that you can use as-is or as inspiration. Here are the ones I actually recommend:
- NvChad: Super clean, gets updated frequently. Great if you want something that works out of the box.
- LunarVim: Solid Lua setup with a directory structure that actually makes sense.
- Doom-Nvim: If you’re coming from Doom-Emacs (guilty as charged), this feels familiar.
- nv-ide: Perfect if you’re heavy into LSP stuff.
- VaporVim: Robust config with old-school organization.
- StarVim: Really well thought out, works across platforms.
- My Own Setup: Built around Xresources themes and Vimwiki because I’m particular like that.
Installing My Config (If You’re Into That)
Want to try out my setup? Here’s how:
cd ~
$ git clone https://github.com/Thomashighbaugh/nvim .config/nvim

$ git clone https://github.com/wbthomason/packer.nvim ~/.local/share/nvim/site/pack/packer/start/packer.nvim

$ nvim -u "$HOME"/.config/nvim/init.lua +PackerInstall
Or just use the script (I promise it doesn’t do anything sneaky):
bash <(curl -s https://raw.githubusercontent.com/Thomashighbaugh/nvim/main/bin/install-latest-neovim.sh)
More Resources (Because There’s Always More)
Check out Awesome NeoVim if you want to fall down the rabbit hole of plugins and customization. It’s focused on the Lua side of things and has pretty much everything you could want.
Seriously, NeoVim is incredible once you get it set up right. The modal editing clicks eventually (trust me on this), and having everything exactly how you want it is such a productivity boost.
Want to know why I switched to NeoVim in the first place? Check out my thoughts on the future of code editing - spoiler alert: it involves a lot less mouse clicking.